Google OAuth
Securely connect your Gmail or Google Workspace accounts to Odoo 19.0 using OAuth 2.0 credentials.
Official Odoo Documentation
https://www.odoo.com/documentation/19.0/applications/general/email_communication/google_oauth.html
Setup in Google Cloud Console
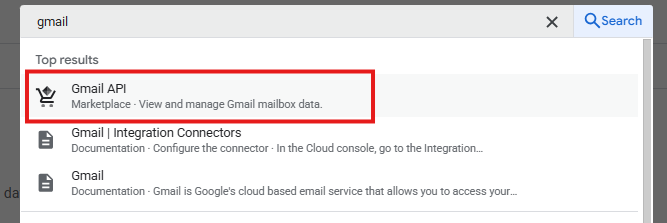
1.2 Enable GMail API

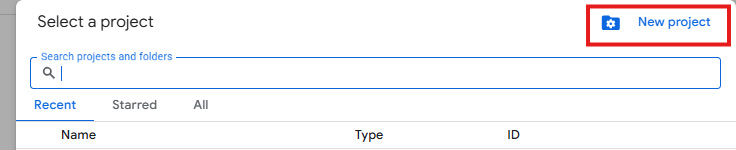
1.3 Click Create Project and name it Odoo.
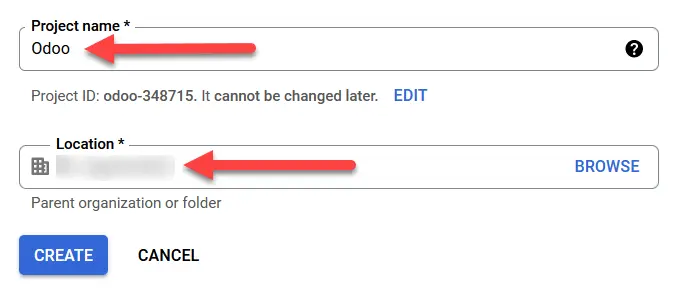
For private email addresses (not Google Workspace) No Organization
2. Create a new App Registration.
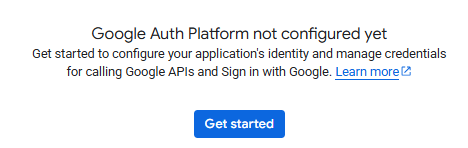
2.1 Navigate to OAuth consent screen.

2.2 Click Get Started to create an new App Registration
2.3 Folow the steps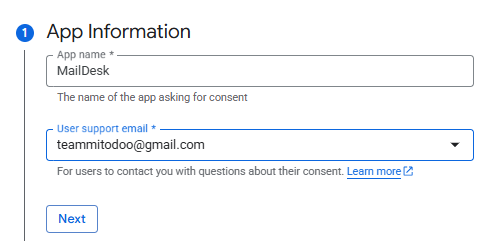
App name - a name of your choice
User support email - not necessarily the mailbox you connecting to
User support email - not necessarily the mailbox you connecting to
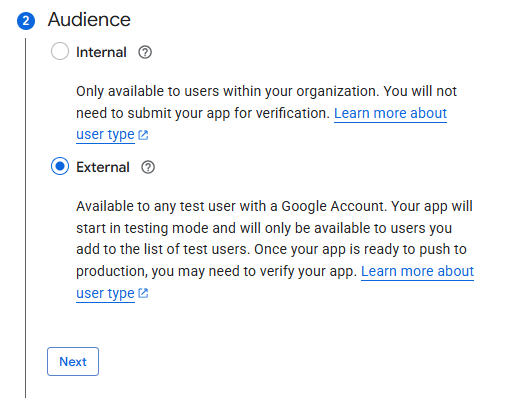
For the private gmail account only External available
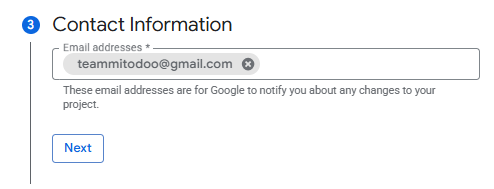
Email addresses - not necessarily the mailbox you connecting to
3. Create an OAuth Client

3.1 Set up the Client Data
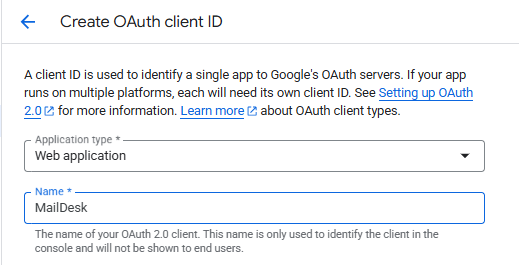
Application Type - Wev application
Name - a client name of your choice
3.2 Add the redirest URIs
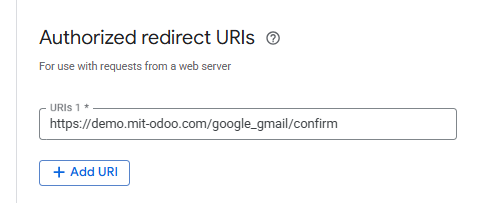
URI - https://demo.mit-odoo.com/google_gmail/confirm
demo.mit-odoo.com - the domain name of your odoo system
If the redirect URI does not work, try to add the following URIs:
https://demo.mit-odoo.com/google_gmail/confirm
http://demo.mit-odoo.com/google_gmail/confirm
http://demo.mit-odoo.com/Gmail/confirm
https://demo.mit-odoo.com/Gmail/confirm
http://demo.mit-odoo.com/google_gmail/confirm
http://demo.mit-odoo.com/Gmail/confirm
https://demo.mit-odoo.com/Gmail/confirm
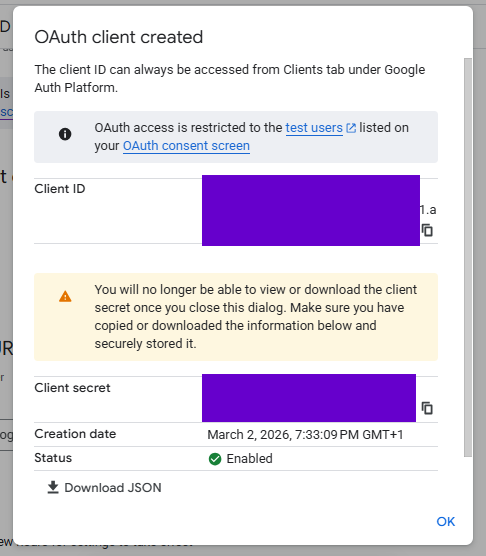
3.3 Click on Create
3.4 Save Client ID and Client Secret
4. Add Audience
Option 1.
If you want the create App to be available from any gmail account who posess the ClientID and Client Secret, you can publish the App
If you want the create App to be available from any gmail account who posess the ClientID and Client Secret, you can publish the App
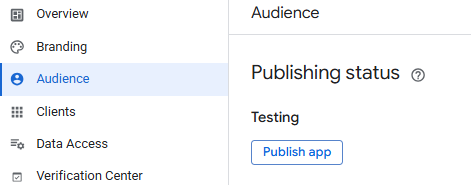
Option 2.
Otherwise you can add email addresses (up to 100) who may access the Client
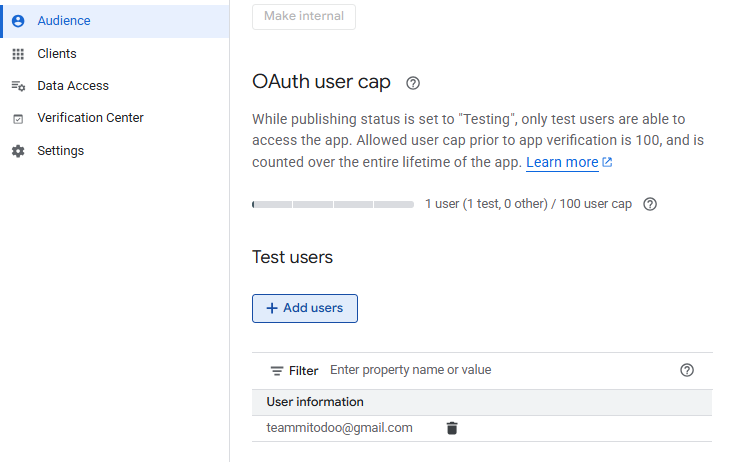
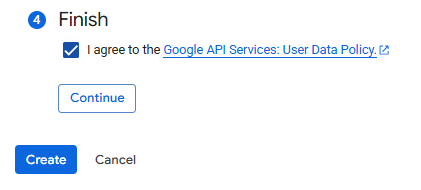
I you are not sure, it would be recomended to use Option 2.
Congrats! Google Cloud configuration finished!
Setup in Odoo
1. Make sure that the Google Gmail module has been installed.
1.1 Go to Odoo -> Apps
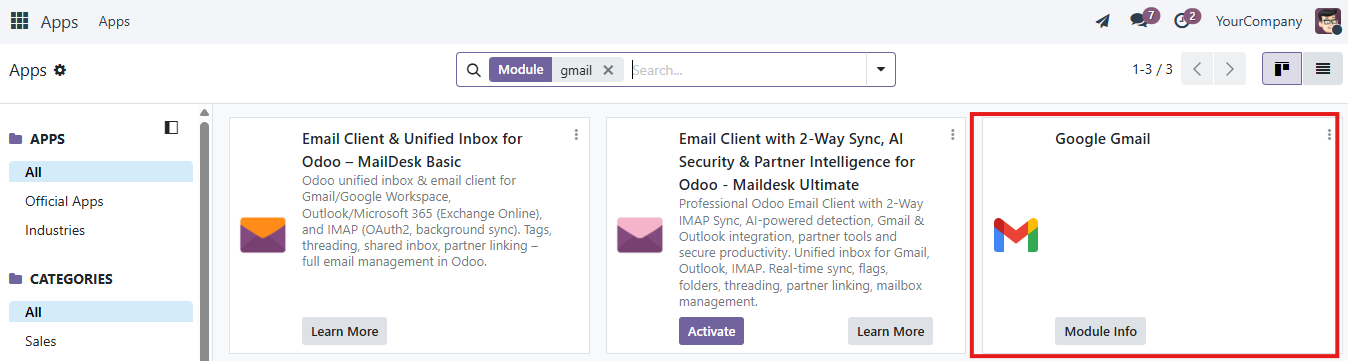
1.2 Install the Gmail module (if not already installed)
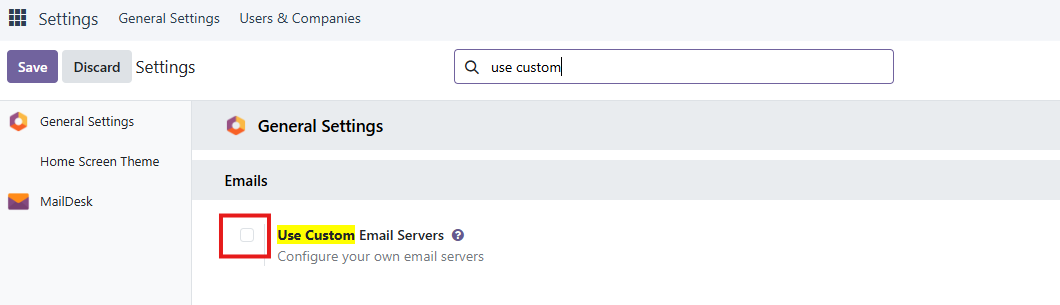
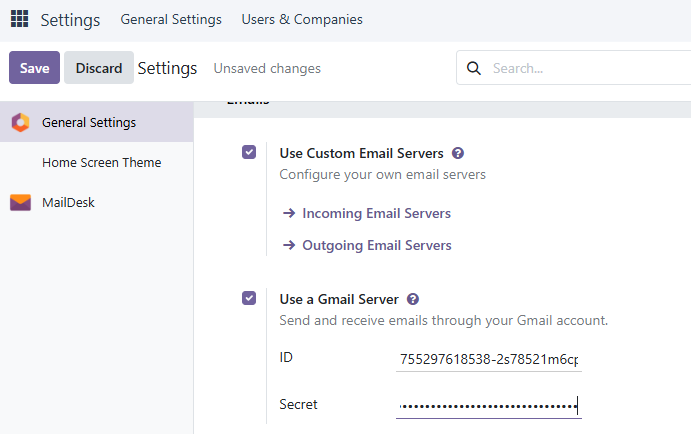
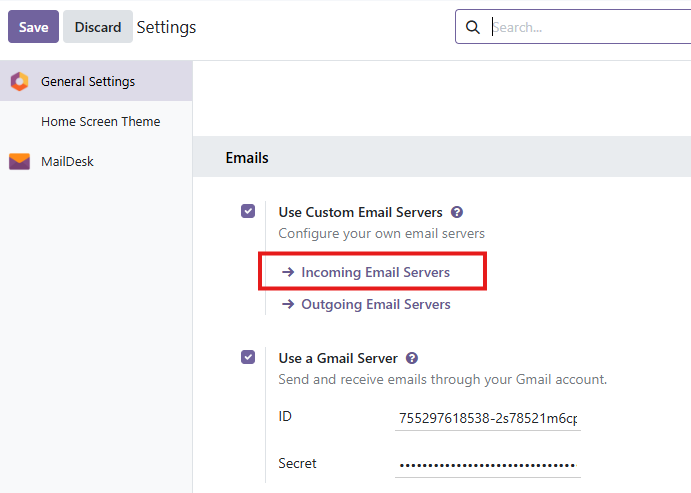
2. Go to General Settings and paste your Client ID and Client Secret from Google.
2.1 Check "Use Custom Email Servers" and Save
2.2 Add your ClientID and Client Secret
3. Create an incoming email server
3.1 Goto Settings
3.2 Click New
3.3 Add client data
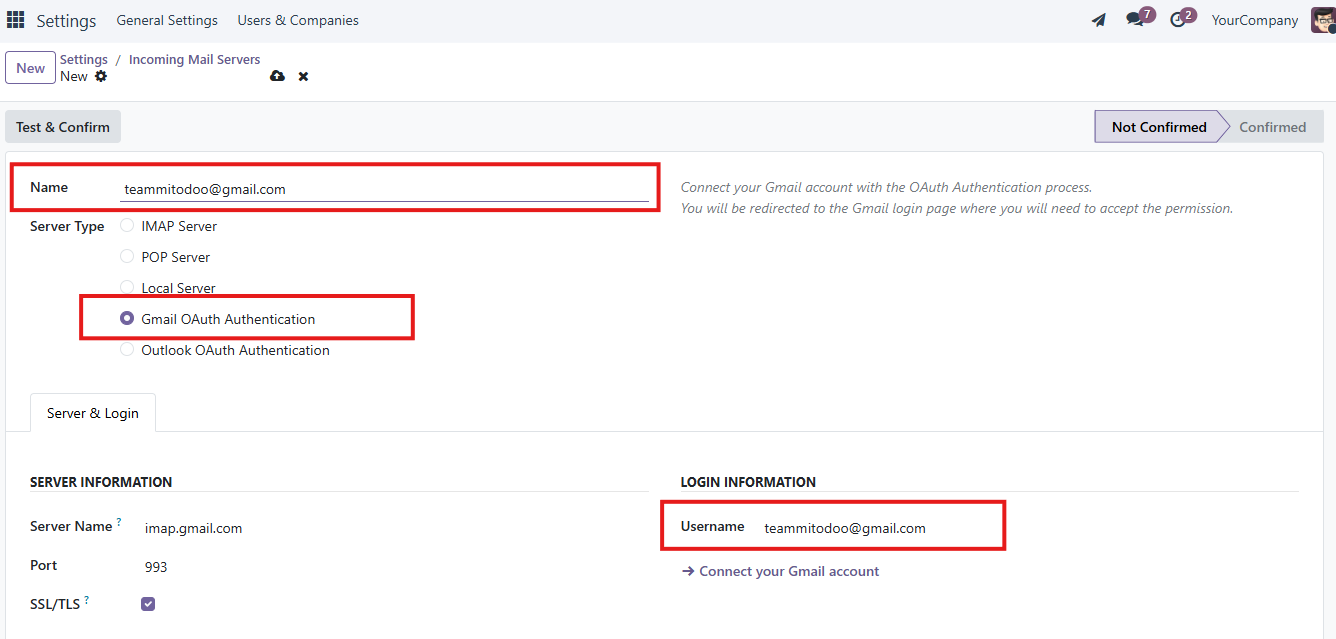
3.4 Click Connect your Gmail account and follow the Google steps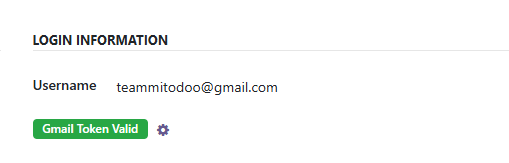
3.5 Click Test & Confim
Important: It can take some time for google to grant an access to you client. It means that with click on Test & Confirm you can receive an Error. Try to connect to gmail account one more time a bit later.
Congrats! Incoming server connected
4. Create an outgoing email server
4.1 Goto Settings
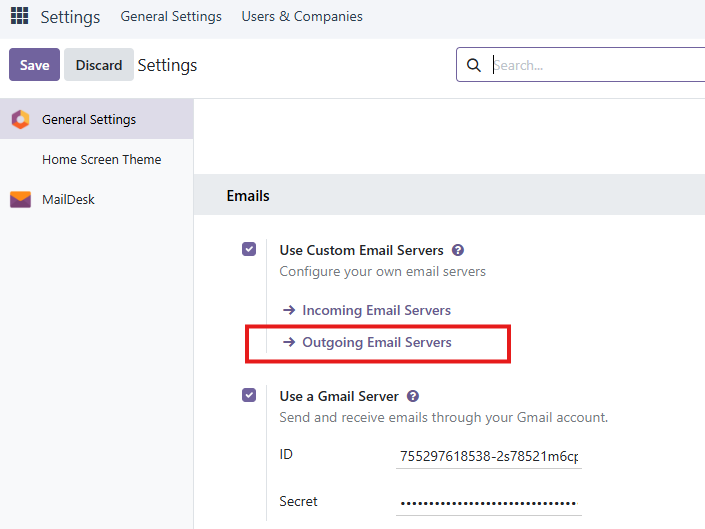
4.2 Click New
4.3 Add client data
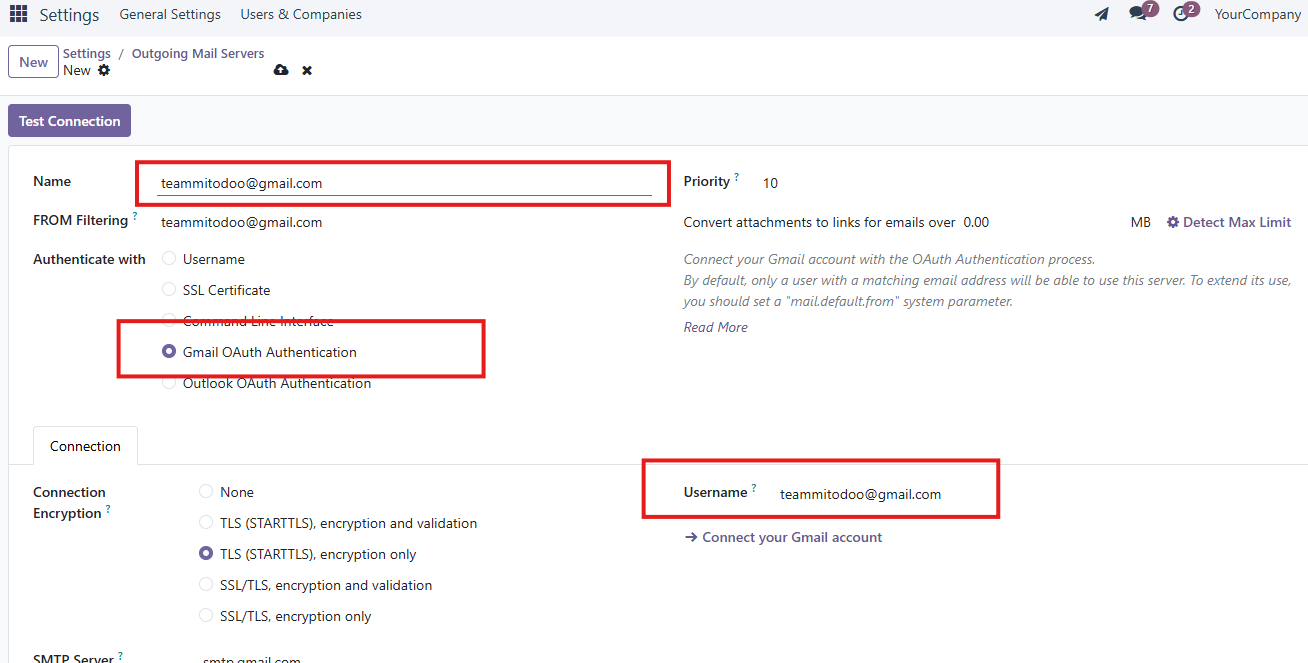
4.4 Click Connect your Gmail account and follow the Google steps
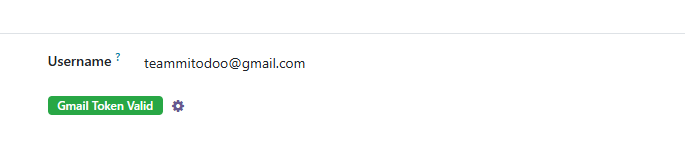
4.5 Click Test Connection
Important: It can take some time for google to grant an access to you client. It means that with click on Test Connection you can receive an Error. Try to connect to gmail account one more time a bit later.
Congrats! Outgoing server connected