MailDesk – Installation & Configuration Guide
A complete A–Z guide to granting access rights and connecting mailbox accounts in MailDesk.
Note: Make sure you have Administrator rights in Odoo to perform these steps.
1. Required Access Rights
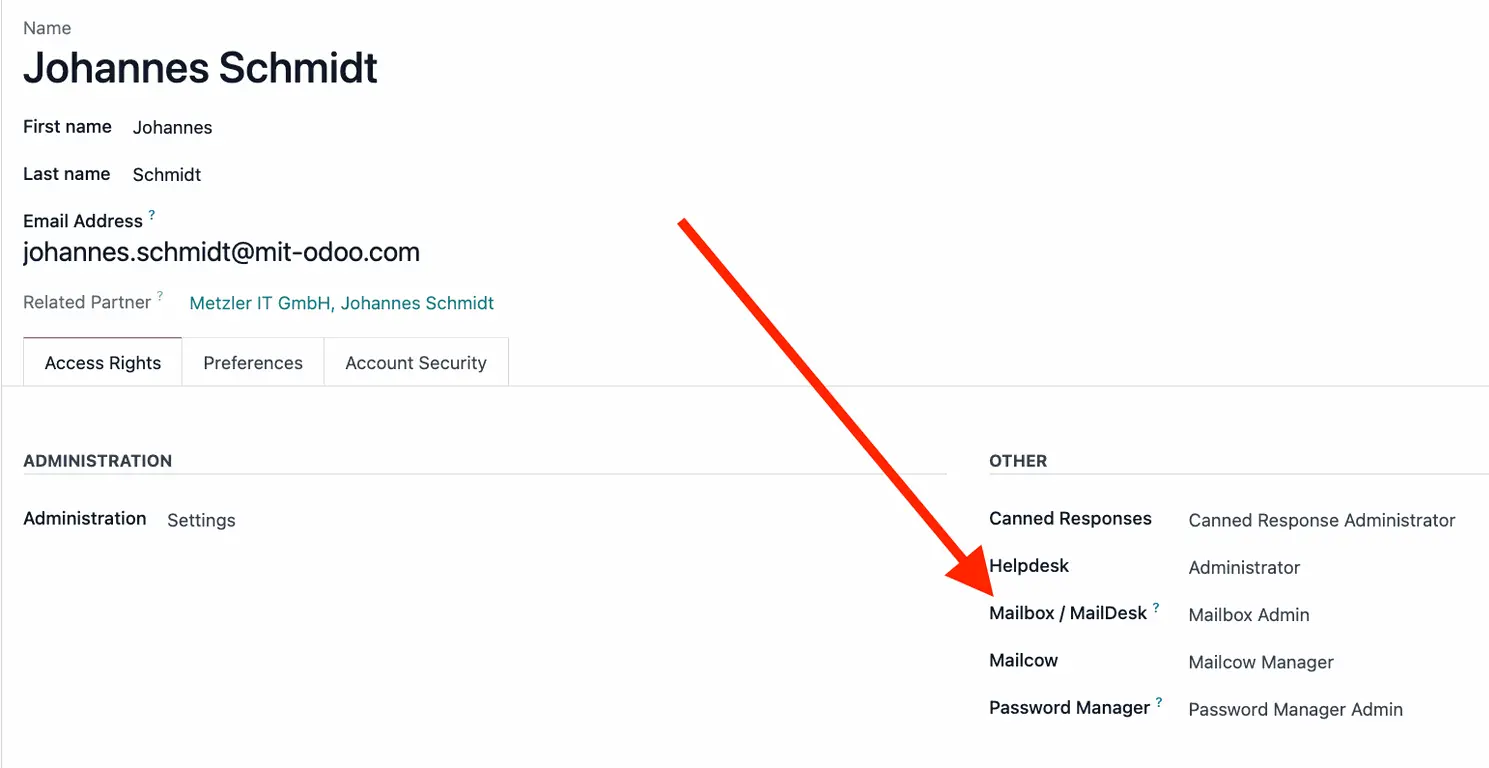
1 Go to Settings > Users & Companies > Users.
2 Select the user and locate the MailDesk field.
- User: Access to the app and connected mailboxes.
- Mailbox Admin: Global MailDesk configuration rights.
2. Mailbox Account Configuration
Path: MailDesk > Configuration > Mailbox Accounts > New.
A. Account Details
- Account Name — Internal name of the mailbox in the system.
- Email Address — Exact email address used for sending and receiving emails.
- Sender Name — Name displayed to recipients as the email sender.
- Allow Personal Connection — Allows users to connect this mailbox as a personal account.
-
Users with Access — Odoo users who are allowed to see this mailbox
(if a user is not listed, they will not see any emails). -
Incoming Mail Server — Server used to receive incoming emails (IMAP/POP3).
If not configured, it can be set up directly here. -
Outgoing SMTP Server — Server used to send outgoing emails (SMTP).
If not configured, it can be set up directly here. - Max Email Size (MB) — Maximum allowed size of incoming emails.
- Keep Attachments — Store email attachments in the system.
- Allow AI Features — Enable AI-powered features for emails.
- Block Tracking URLs — Block tracking links inside emails.
- Folders — Mailbox folders (Inbox, Sent, etc.).
- Signature — Signature automatically added to outgoing emails.

3. Verification
1 Click Fetch Folders in the header.
2 Go to the Folders tab and verify visibility.
3 Perform a test send/receive to confirm synchronization.
