First setup — open MailDesk and connect your first mailbox
You have just installed MailDesk and you want your email to live inside Odoo — next to your customers, quotes and tickets, instead of in a separate tab. This page takes you from the very first click to a working inbox that sends and receives mail. Follow it once, top to bottom, and you will have your first mailbox connected and tested.
You have just installed MailDesk and you want your email to live inside Odoo — next to your customers, quotes and tickets, instead of in a separate tab. This page takes you from the very first click to a working inbox that sends and receives mail. Follow it once, top to bottom, and you will have your first mailbox connected and tested.
Available in: Basic and Pro. Opening MailDesk and connecting a mailbox are part of the MailDesk engine, so these steps are identical whether or not Pro is installed. Where a step touches a Pro-only extra, it is marked inline.
Before you start
A smooth first setup takes about ten minutes if you have a few things ready:
- Odoo with MailDesk installed. If you can see the MailDesk app in your apps menu, you are good.
- The right access level. Creating a mailbox account and configuring mail servers is an administrator task, so do this first setup as an Odoo administrator or as a MailDesk Admin. Everyday users only need the Mailbox User role to read and send mail once a mailbox is shared with them.
- Your sign-in details. For Gmail or Outlook / Microsoft 365 this is the one-time OAuth authorisation. For any other provider it is the username, password and IMAP/SMTP server settings — the same details you would type into any email program.
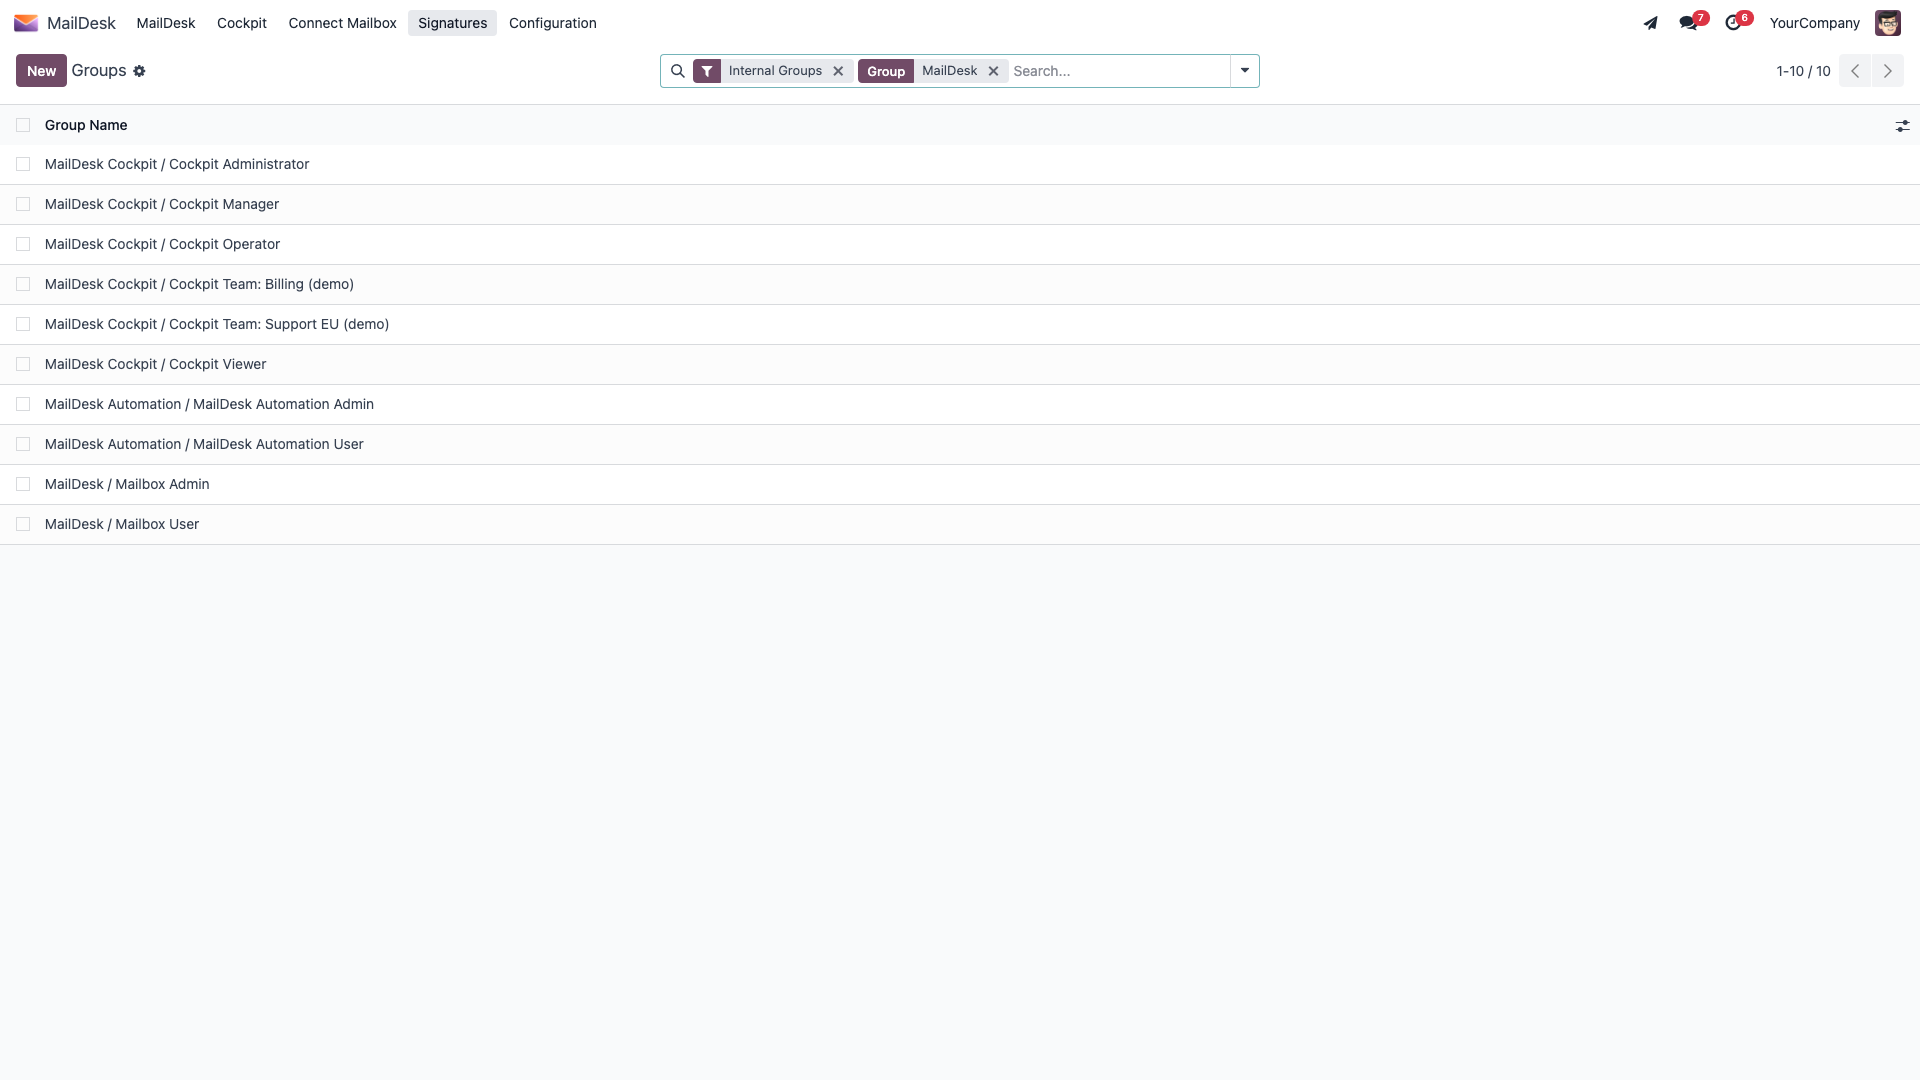
You can see where the MailDesk role lives in Odoo's user settings, under Settings → Users, on the Access Rights tab. The MailDesk field there is what decides who is an administrator and who is a plain mailbox user.
Not sure about server settings?
If OAuth or IMAP server details are unfamiliar, that is completely normal — they are an administrator's job. Ask your Odoo administrator, or follow the provider guide linked further down. New to MailDesk altogether? Start with What MailDesk is.
Step 1 — Open MailDesk
- Log in to Odoo.
- Open the main apps menu and choose MailDesk.
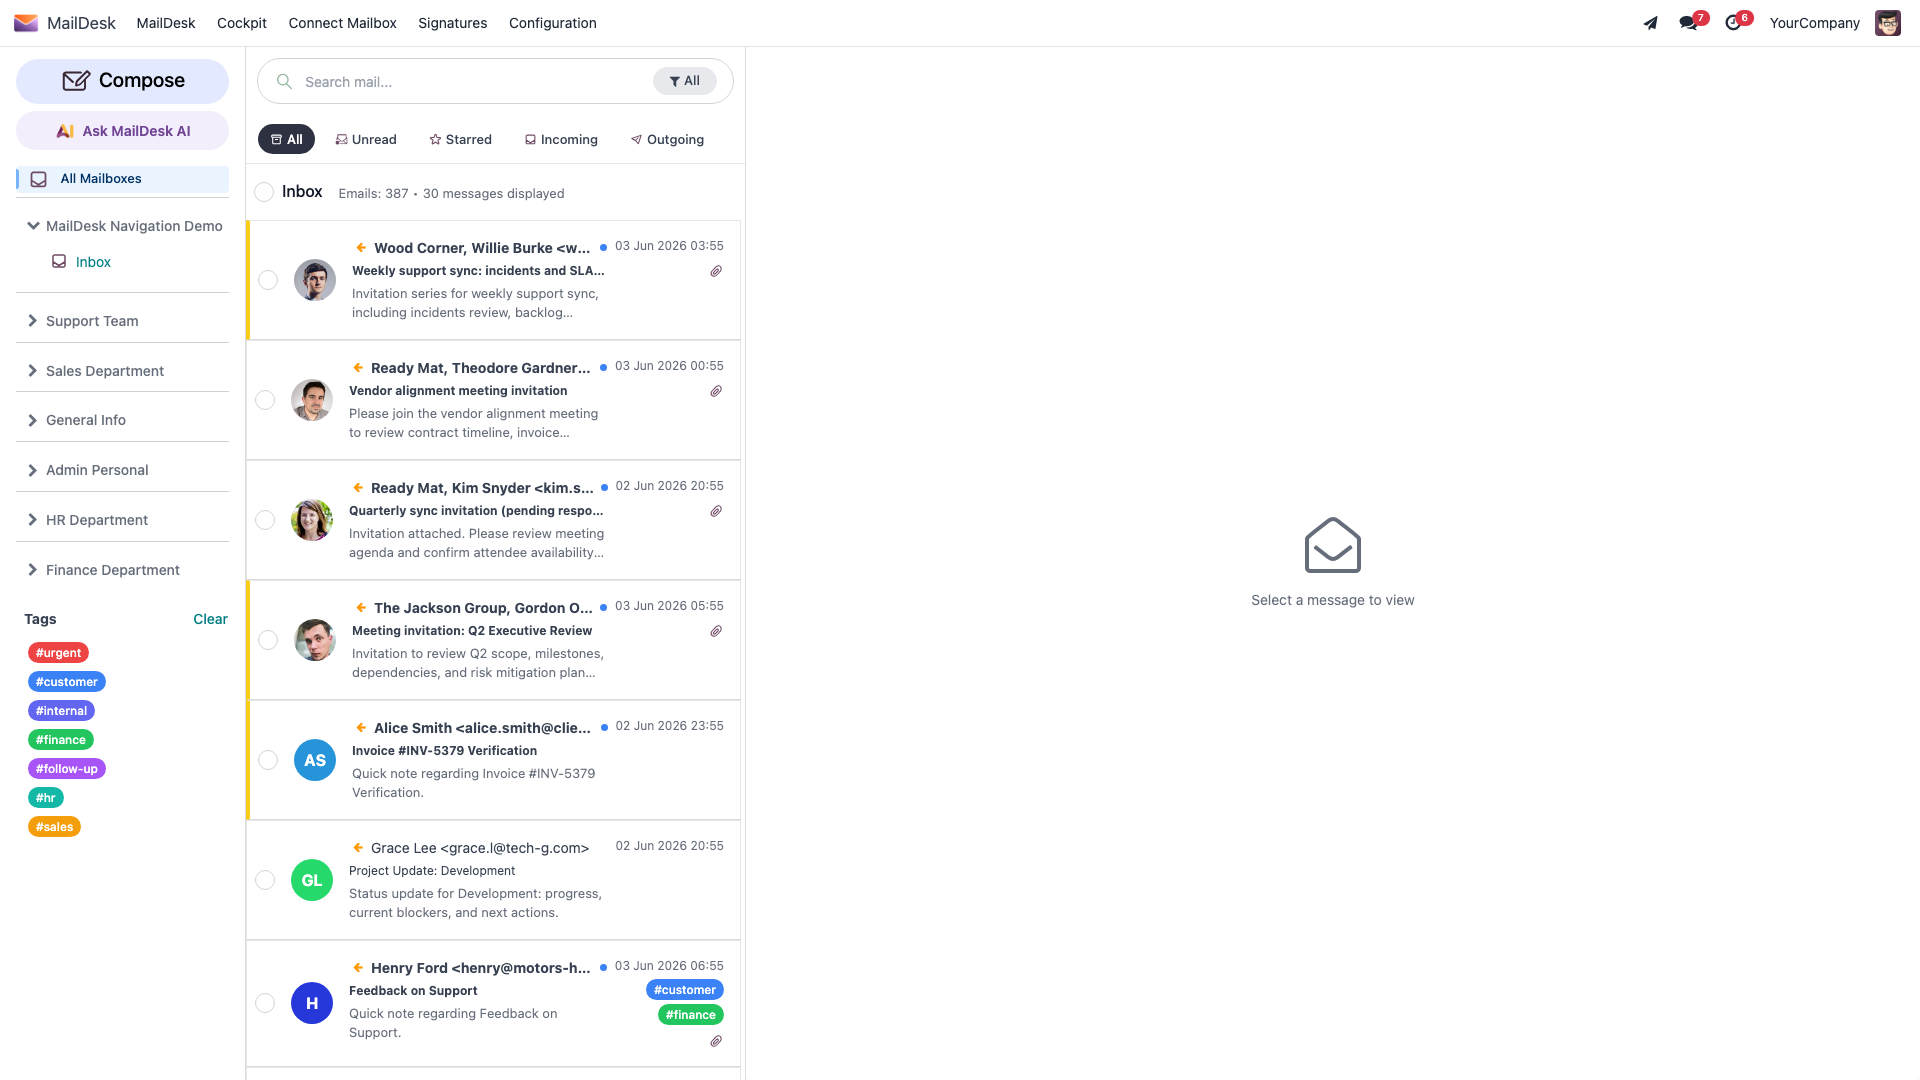
- The app opens on the inbox. On a fresh install, before any mailbox is connected, there is simply nothing to show yet — that is expected, and the next steps fix it.
Once a mailbox is connected, this same screen fills with your mail: a header with search and a compose button, quick tabs for All, Unread, Starred, Incoming and Outgoing, and your message list below.
Step 2 — Find your way around the menu
At the top of the MailDesk app you will find the navigation you use for everything that follows:
- MailDesk — the inbox itself: folders, your message list, and the reading pane.
- Connect Mailbox — a quick wizard to join an existing shared mailbox using the email address and shared password its owner gave you.
- Configuration — the administrator area. It holds MailDesk Settings, Aliases, and Mailboxes. Under Mailboxes you will find Mailbox Accounts, Incoming Mail Servers, and Outgoing Mail Servers.
The Configuration menu is shown to MailDesk administrators only. If you do not see it, you have the Mailbox User role and an administrator will set up the connection for you. (The Cockpit menu shown alongside these is a Pro shared-mailbox dashboard — it does not affect first setup.)
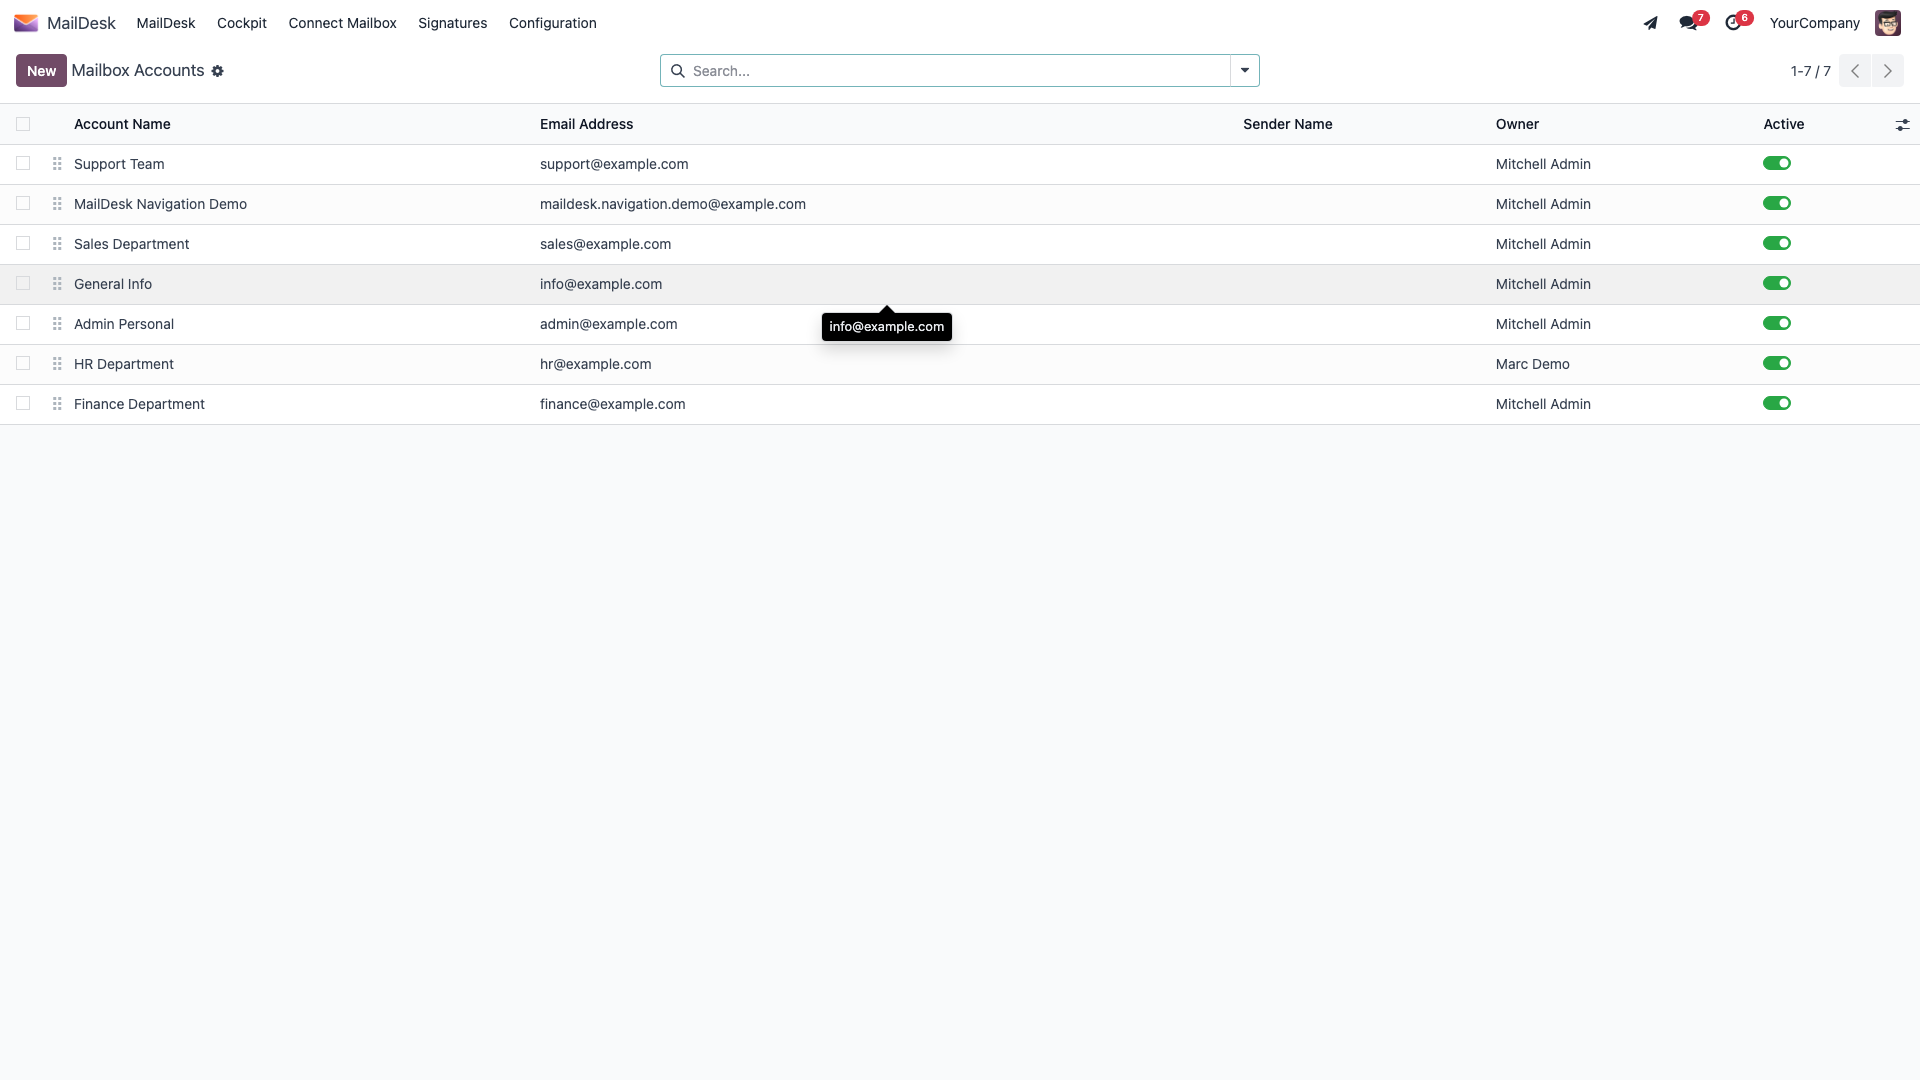
The Mailbox Accounts list is where each connected mailbox lives. From here you create new accounts and open existing ones.
Step 3 — Connect your first mailbox
There are two ways to get a mailbox into MailDesk. Pick the one that matches your situation.
Option A — Join an existing shared mailbox (fastest)
If a colleague has already set up a shared mailbox (for example support@ or info@) and given
you its shared password, you do not need to configure anything:
- In the MailDesk app, choose Connect Mailbox.
- Enter the Email address of the shared mailbox and the Password the owner gave you.
- Click Connect.
MailDesk grants you access to that existing shared mailbox right away. This wizard does not create a new mailbox and does not contact your mail provider — it simply connects you to a mailbox that already exists. To set up a brand-new mailbox, use Option B.
Option B — Full setup (Gmail, Outlook / Microsoft 365, or IMAP)
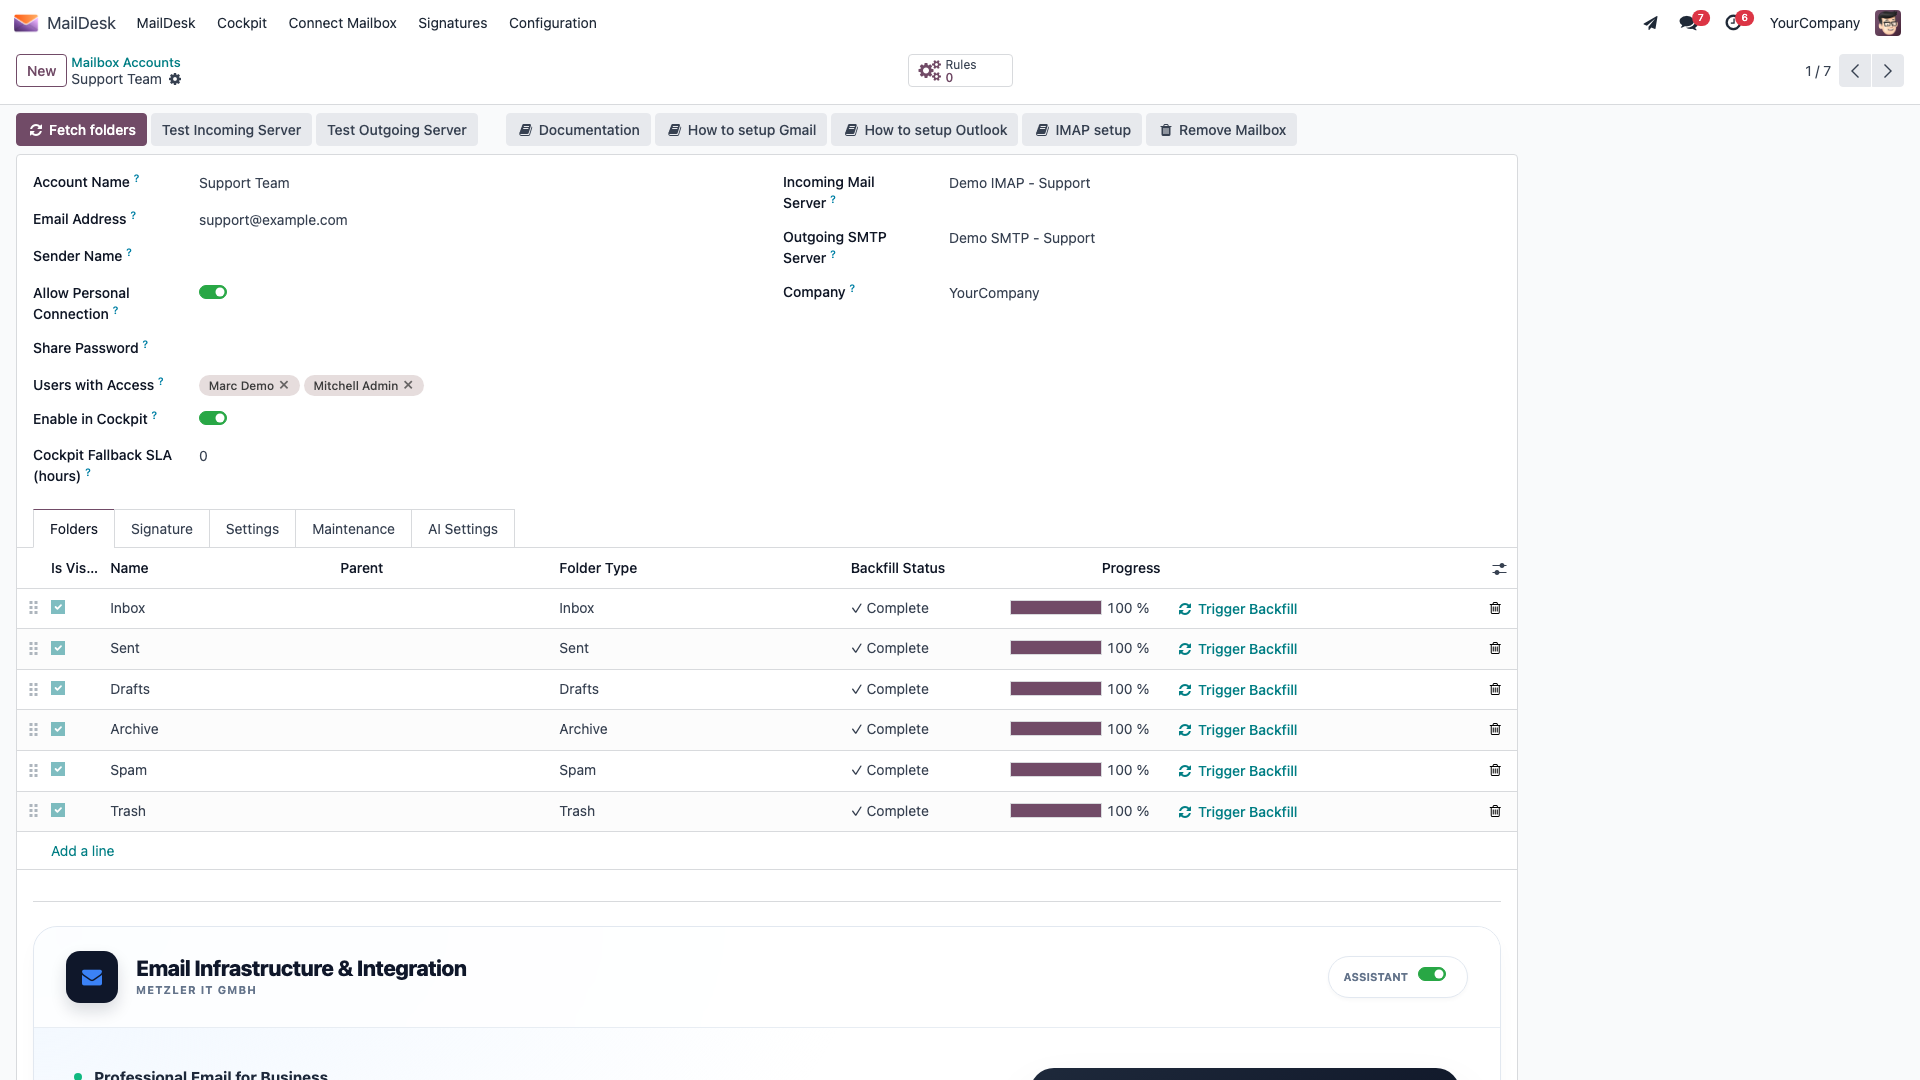
For a brand-new connection — Gmail, Outlook / Microsoft 365, or any IMAP account — an administrator creates a mailbox account and attaches its mail servers. Go to MailDesk → Configuration → Mailboxes → Mailbox Accounts and click New, then work down the form:
- Account Name — a friendly internal name to recognise the mailbox in Odoo (e.g. Support, Sales, John Doe).
- Email Address — the full address used to sign in and to send from (e.g.
[email protected]). - Sender Name — the name recipients see on your outgoing mail. Leave it blank to show only the address.
- Users with Access — pick the Odoo users who may see and use this mailbox. Only the people you list here will see the mailbox and its mail.
- Shared Mailbox and Share Password — turn on Shared Mailbox if a team will use one address together, and set a Share Password so colleagues can join it through the Connect Mailbox wizard (Option A above).
- Incoming Mail Server — where mail is fetched from. Outgoing SMTP Server — where mail is sent from. The provider (Gmail, Outlook, or plain IMAP) is decided by the incoming server's type, not by a switch on the account.
- Use Test Incoming Server and Test Outgoing Server to confirm both connections work — each shows a Connection Test Successful! message on success.
- Click Fetch folders so MailDesk reads the mailbox's folders (Inbox, Sent, and so on). Then open the Folders tab and tick the folders you want to keep in sync. Inbox and Sent are the recommended minimum — fewer folders means a faster, more reliable sync.
- Save.
The exact, provider-specific steps — including the one-time OAuth authorisation for Gmail and Outlook — live in the connection guides:
- Gmail / Google Workspace — Gmail OAuth setup (recommended) or the App Password route in IMAP / SMTP setup.
- Outlook / Microsoft 365 — Outlook / Microsoft 365 OAuth setup.
- Any other provider (IMAP) — IMAP / SMTP setup.
- Sharing a mailbox with a team — Mailbox account setup.
Step 4 — Let the first sync run
Once the mailbox is connected and your folders are selected, MailDesk starts filling the inbox on its own. It works the way you would hope:
- Sync runs folder by folder, newest messages first, so the mail you actually care about appears first.
- The first messages show up shortly after you connect; older mail keeps loading quietly in the background.
- A message's full body is fetched the moment you open it.
A large mailbox with years of history takes a while to load completely — that is normal. Let the background sync finish on its own rather than disconnecting and reconnecting the account.
Step 5 — Send and receive a test email
A two-minute check confirms the whole round trip works:
- Click Compose and send a short email to yourself.
- Open Sent — your message appears there straight away.
- Wait for it to arrive in Inbox on the next sync cycle.
Outgoing mail shows up instantly; incoming mail may take until the next sync to appear. If anything looks off, check Troubleshooting before adding more mailboxes.
What to do next
Your first mailbox now sends and receives inside Odoo. From here:
- Add more mailboxes one at a time, confirming each before moving on.
- Learn the everyday flow — reading and replying, composing, organising with tags and folders, and searching — in the user guide.
- Choosing or upgrading an edition? See Licensing & editions.
One mailbox at a time
MailDesk rewards a calm, step-by-step setup. Connect one mailbox, confirm that sending and receiving both work, and only then add the next account. It is the quickest route to a tidy, trustworthy inbox.